Thinking of building a curbless shower in your Toronto home? It’s a stylish and modern choice—but with our city’s high humidity and long winters, waterproofing becomes more than just a step—it’s a must. Without the right protection, water can easily seep into your floors and walls, leading to mould, damage, and costly repairs.
In this blog, we’ll show you exactly how to waterproof a curbless shower for Toronto’s humidity. Whether you’re planning a full bathroom renovation or just updating your shower, this guide will walk you through simple, effective steps to keep your space dry, safe, and built to last in our local climate.
Understanding Curbless Showers in GTA Climate
A curbless shower—also called a zero-threshold or walk-in shower—has no raised edge or barrier at the entrance. It creates a seamless look and is ideal for accessibility, modern design, and easy cleaning. But unlike traditional showers, curbless ones don’t contain water with a curb. That means waterproofing becomes even more important to prevent leaks or water damage.
In the Greater Toronto Area (GTA), the mix of high indoor humidity, cold winters, and seasonal temperature swings creates extra challenges. Moisture buildup is common, especially in bathrooms without proper ventilation. If your curbless shower isn’t fully sealed, water can slip beneath the surface, soaking subfloors and feeding mould growth. Over time, this can weaken your bathroom structure and affect indoor air quality.
Because of these local conditions, waterproofing a curbless shower in Toronto requires careful planning—from choosing the right materials to ensuring proper slope and drainage. It’s not just about keeping your bathroom dry today—it’s about building a shower that lasts through the unique climate of the GTA.
Best Waterproofing Methods
When building a curbless shower, choosing the right waterproofing method is the most important step. Since there’s no barrier to stop water from spreading, every part of the shower—walls, floor, and even areas beyond the shower zone—must be sealed tightly. This is especially important in Toronto’s humid climate, where trapped moisture can lead to mould, rot, and structural damage.
Here are the three best waterproofing methods used by professionals across the GTA:
1. Sheet Membrane Waterproofing
This method uses large waterproof sheets (like Schluter®-KERDI) applied directly over the shower walls and floor. These sheets are sealed at the seams and around corners using special waterproof tape and adhesive.
Pros:
- Strong and long-lasting
- Perfect for custom showers
- Resists movement and cracking
Cons:
- Needs careful cutting and sealing
- Best installed by professionals
2. Liquid Waterproofing Membranes
Products like RedGard® or LATICRETE® Hydro Ban are brushed or rolled onto surfaces like paint. Once dry, they form a flexible, waterproof layer across your shower.
Pros:
- Easy to apply—even for DIYers
- Great for covering corners and odd shapes
- No seams or overlaps
Cons:
- Must be applied in several coats
- Needs drying time between layers
3. Hybrid Systems
Some builders combine both methods—using a sheet membrane on the floor and a liquid membrane on the walls or tricky areas. This combo is becoming popular in Toronto bathroom renovations, as it offers full protection with added flexibility.
Step‑by‑Step Waterproofing Process
To properly waterproof a curbless shower, each layer needs to be carefully planned and installed. In a humid city like Toronto, skipping or rushing even one step can lead to major problems like water leaks, mould, and floor damage. Follow this step-by-step process to ensure your shower is fully protected.
1. Prepare the Subfloor and Slope
Start by ensuring the subfloor is clean, level, and strong enough to support tile and waterproof layers. For proper drainage, build a slope of at least 1/4 inch per foot toward the shower drain. This slope helps water flow directly into the drain and not spread across your bathroom.
Tip: For linear drains (often used in curbless showers), the slope usually runs in one direction, making tiling easier.
2. Install a Waterproofing Membrane
Now, apply your chosen waterproofing method:
- Sheet membrane: Cut and install sheets tightly across the shower floor and walls, sealing seams with waterproof tape and adhesive. Extend the membrane 12 to 24 inches beyond the wet zone into the rest of the bathroom floor.
- Liquid membrane: Roll or brush on at least two coats, covering all surfaces including corners and seams. Let each coat dry fully before adding another.
Be sure to waterproof the walls at least 6 feet high, or full height if your shower is fully open.
3. Seal the Drain Connection
A curbless shower requires a watertight bond where the floor meets the drain. Use a flanged drain system or a bonded flange with sheet membranes. Apply waterproofing material carefully around the base to prevent any leaks where water collects the most.
4. Install Tile Backer Boards
Use waterproof cement board or foam panels on the walls. Avoid drywall, as it absorbs moisture. Seal all joints and screw holes with waterproof tape and membrane for a seamless barrier.
5. Lay Tiles and Finish
Once the waterproofing is fully dry, install your tiles using a waterproof thin-set adhesive. Back-butter tiles for better grip and maintain the slope. Finish off with grout and a silicone sealant along corners and edges to keep moisture from getting behind the tile.
Drying & Ventilation Strategy
Even with proper waterproofing, Toronto’s humidity can still cause moisture to linger in your bathroom. That’s why a strong drying and ventilation system is just as important as sealing the shower. These strategies help prevent mould growth, reduce moisture damage, and keep your curbless shower dry and healthy.
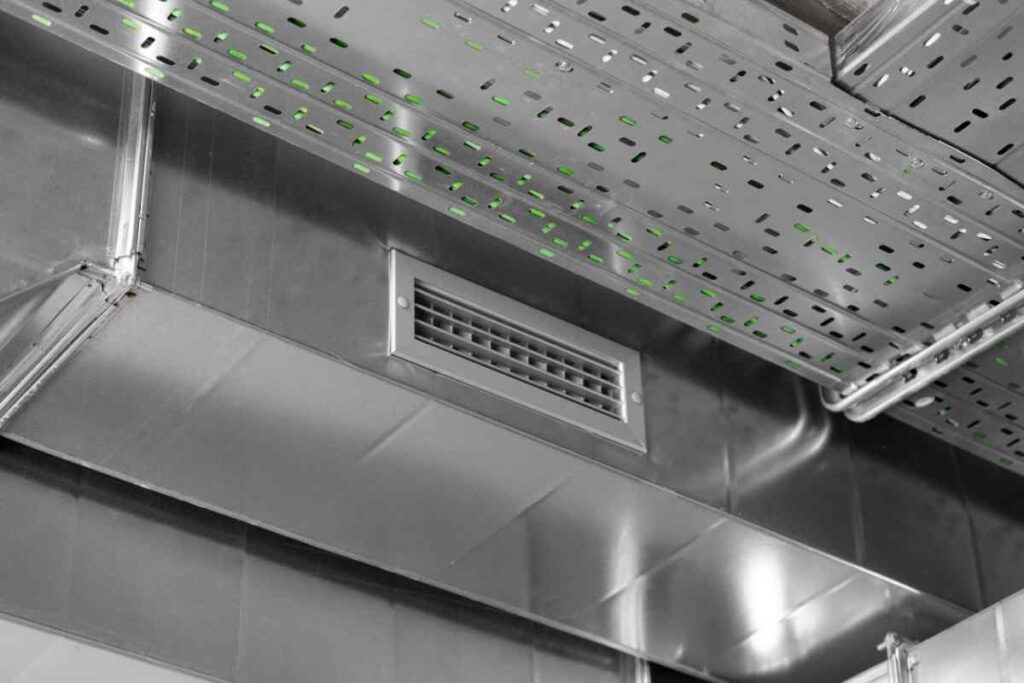
1. Install a High-Quality Exhaust Fan
An exhaust fan helps remove moist air quickly after every shower. Choose a fan with the right CFM rating (cubic feet per minute) based on your bathroom size. In most Toronto homes, a fan with at least 80–110 CFM is recommended for small to medium bathrooms. Install it directly above or near the shower for best performance.
Tip: Look for a model with a built-in humidity sensor, so it turns on automatically when moisture levels rise.
2. Maximize Natural Ventilation
If possible, keep a window open after each shower to let fresh air in and allow steam to escape. This simple step can speed up drying time and lower humidity levels inside your bathroom.
3. Use Radiant Floor Heating
Adding radiant heating under your tiles helps water evaporate faster. This not only keeps the floor warm and comfortable but also protects against moisture that can get trapped in grout lines. In colder Toronto months, heated floors are especially helpful in keeping your curbless shower area dry.
4. Daily Drying Habits
After every shower, use a squeegee to push water toward the drain and wipe down glass panels and tiles. Even a quick 1-minute routine can make a big difference in keeping your shower dry and mould-free.
Local Permits & Code Considerations
Before you begin waterproofing a curbless shower in Toronto, it’s important to understand the local building codes and permit requirements. Following the proper guidelines not only ensures your renovation is legal and safe—it also helps prevent costly mistakes and inspection issues down the road.
1. Do You Need a Permit for a Curbless Shower in Toronto?
Yes, in most cases, a building permit is required when altering plumbing, modifying the structure, or making changes to the waterproofing system of a bathroom. Since curbless showers involve changes to floor slope, drainage, and often the subfloor, it’s considered more than a cosmetic upgrade.
You can apply for a building permit through the City of Toronto’s Building Services or your local municipality if you’re in the GTA (such as Mississauga, Vaughan, or Markham).
2. Key Code Requirements to Follow
Toronto and Ontario building codes have specific rules to ensure your bathroom remains safe and functional. When installing a curbless shower, make sure your renovation complies with:
- Drainage slope requirements: The floor must slope ¼ inch per foot toward the drain.
- Waterproof membrane standards: Materials must meet the Ontario Building Code (OBC) standards for wet-area protection.
- Barrier-free accessibility rules: If your goal is to create an accessible shower, follow guidelines for door widths, grab bar placement, and floor transitions.
3. Work With Licensed Professionals
Hiring a licensed bathroom renovation contractor, like BathGuys, ensures your shower meets code from start to finish. They’re familiar with Toronto’s permit process and will help you avoid delays, rework, or failed inspections.
DIY vs Hiring BathGuys
If you’re planning to waterproof a curbless shower in Toronto, you might wonder whether to take the DIY route or hire professionals like BathGuys. While DIY waterproofing may seem like a cost-saving option, it comes with risks—especially in high-moisture environments like the GTA.
DIY Waterproofing: What to Consider
Homeowners with tiling or renovation experience can sometimes manage simple waterproofing tasks. Products like liquid membranes are fairly easy to apply, and there are plenty of tutorials online. But the truth is, curbless showers are complex—and mistakes aren’t always easy to fix.
Challenges of DIY:
- Getting the slope right for proper drainage
- Ensuring a watertight seal around the drain
- Applying membrane layers without gaps or bubbles
- Complying with Toronto’s building codes
Even one small error can lead to long-term moisture problems, mould growth, and structural damage—especially in humid conditions.
Why Hiring BathGuys Is the Smart Choice
At BathGuys, we specialize in waterproofing curbless showers that are built to last in Toronto’s humidity. Our experienced team ensures every layer—from subfloor prep to final tile installation—is completed with precision and care.
Benefits of working with BathGuys:
- Professional installation using code-approved materials
- Expert slope and drainage setup to avoid pooling
- Seamless waterproofing across floors, walls, and corners
- Full compliance with local building codes and permits
- Peace of mind backed by quality workmanship
Also Read this: How to Fix Common Bathroom Leaks and Plumbing Issues
Conclusion
Waterproofing a curbless shower in Toronto’s humidity isn’t just a finishing touch—it’s the foundation of a long-lasting, mould-free bathroom. From choosing the right waterproofing method to ensuring proper drainage, ventilation, and code compliance, each step plays a key role in protecting your investment. Curbless showers are stylish and functional, but only when built with care and expertise. Whether you’re a DIY enthusiast or prefer working with professionals like BathGuys, understanding the process is essential. For reliable bathroom renovations in the GTA, trust a team that knows how to get it done right—from waterproofing to finishing tile.
FAQs
-
Is a curbless shower harder to waterproof than a traditional shower?
Yes, curbless showers are more challenging to waterproof because there’s no raised edge to contain water. They require precise slope, full membrane coverage, and expert sealing—especially important in humid climates like Toronto.
-
What is the best waterproofing method for curbless showers?
The best method depends on your shower layout. Sheet membranes offer high durability, while liquid membranes are great for complex shapes. Many professionals in Toronto use a combination of both for maximum protection.
-
Do I need a permit to waterproof a curbless shower in Toronto?
Yes, most bathroom renovations involving plumbing or structural changes—like installing a curbless shower—require a permit in Toronto. It’s important to follow Ontario Building Code standards to pass inspections.
-
How can I prevent mould in a curbless shower?
To prevent mould, use proper waterproofing, install a high-quality exhaust fan, and ensure good drainage and ventilation. Also, daily habits like wiping down surfaces and using radiant floor heating help keep moisture under control.