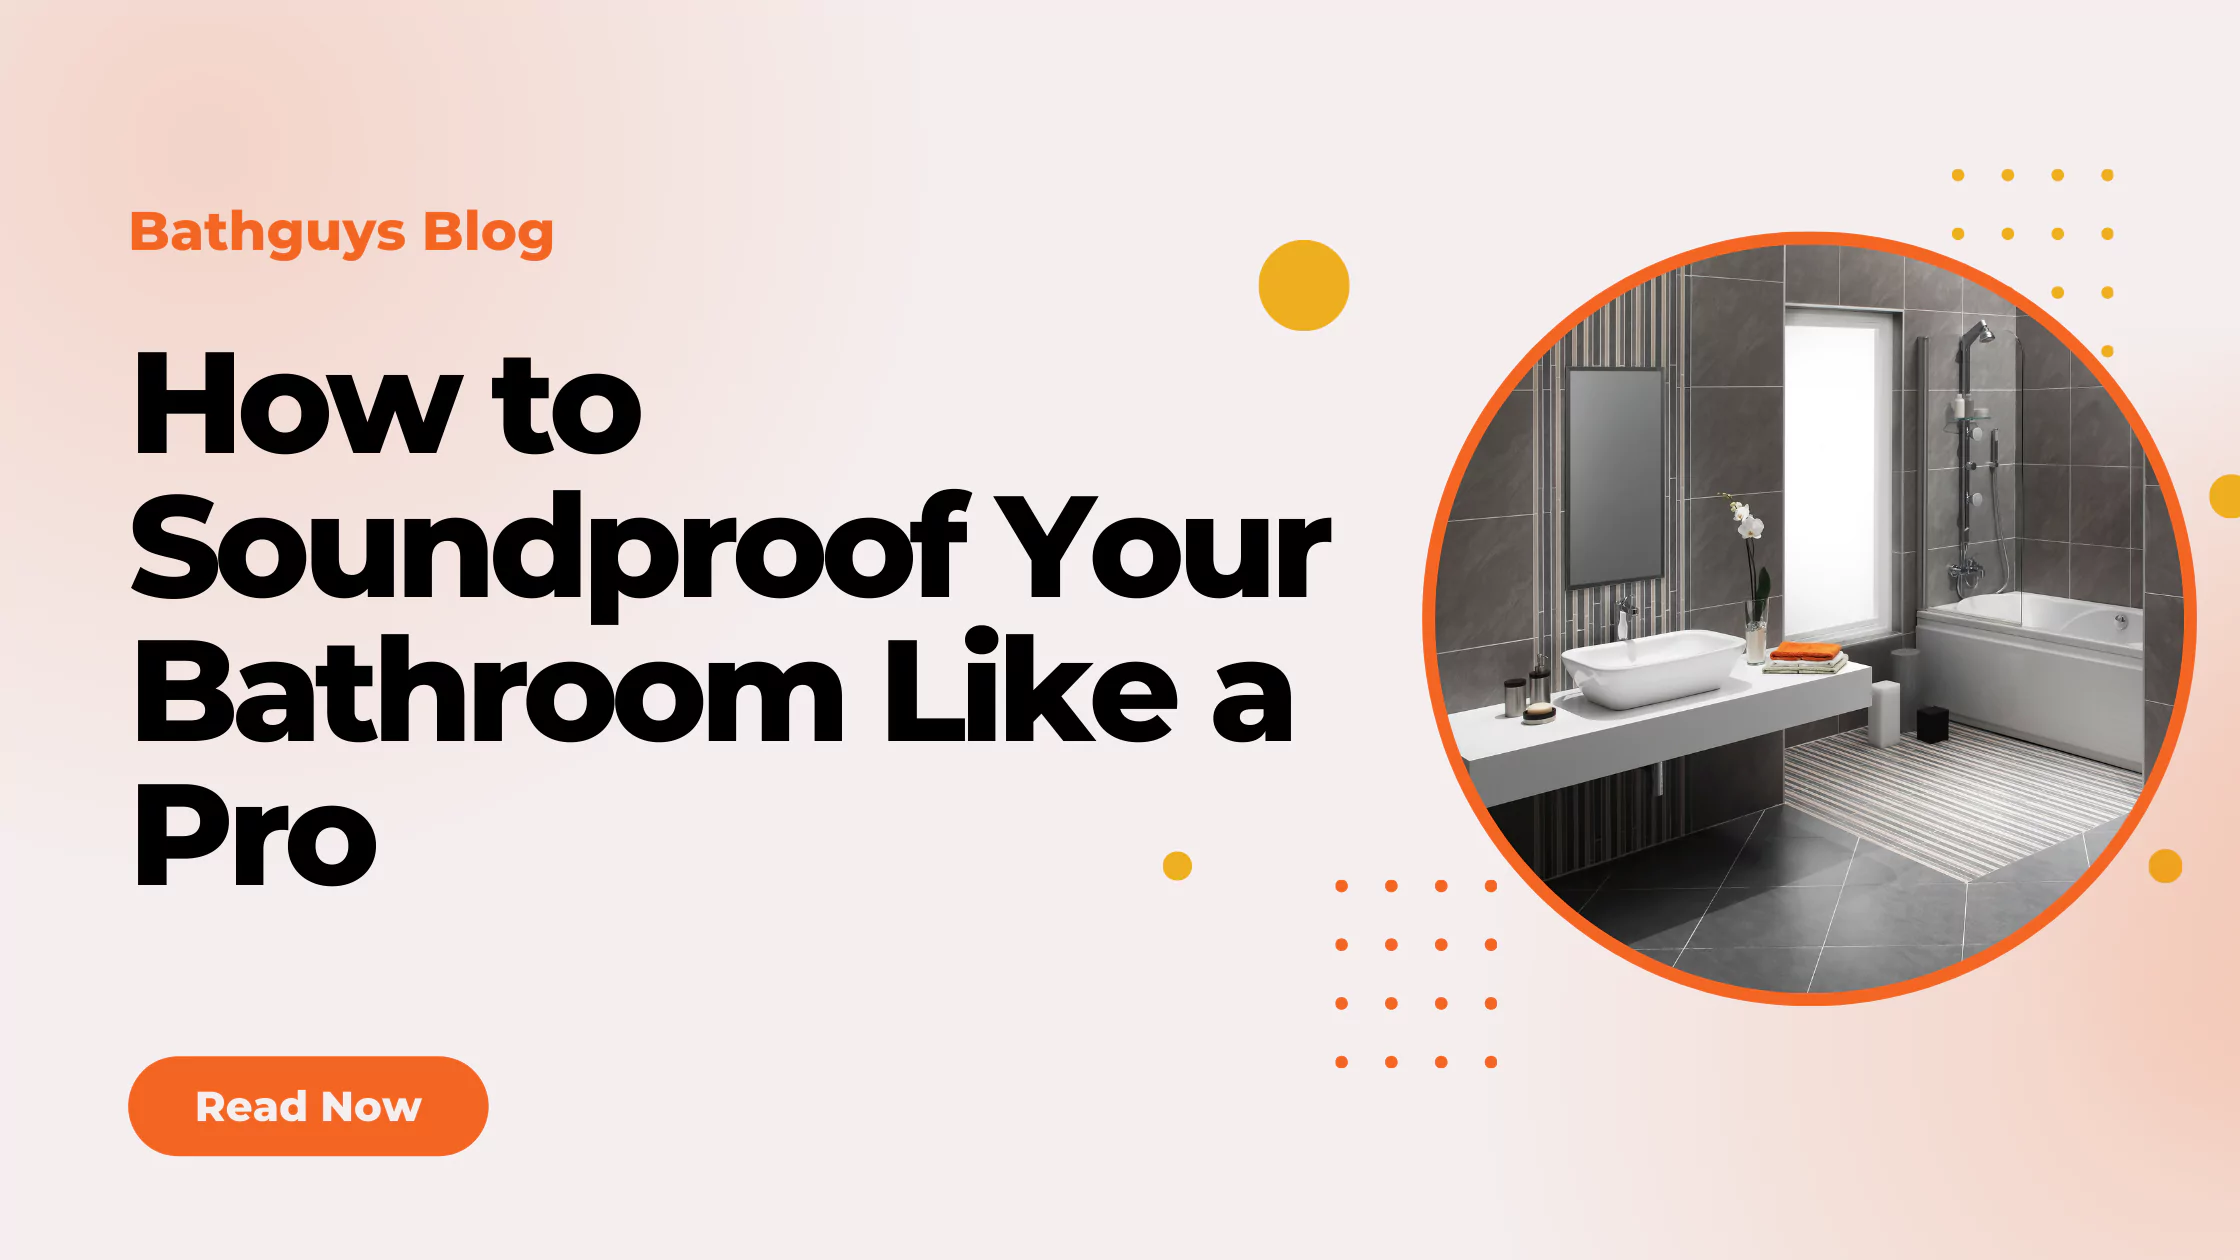
Are you sick of hearing every little noise in your bathroom? Whether it’s the plumbing or the echoes off the walls, a noisy bathroom is distracting and uncomfortable. Soundproofing your bathroom is the answer to create a peaceful, quiet space where you can relax without interruptions.
In this post we’ll show you simple, effective ways to soundproof your bathroom like a pro. From choosing the right materials to using expert techniques, you’ll learn how to reduce noise, increase privacy and make your bathroom a more enjoyable place. Let’s get into the best tips and tricks for soundproofing your bathroom quickly and affordably!
Table of Contents
The Challenges of Soundproofing Bathrooms
Soundproofing a bathroom seems easy but there are unique challenges to consider. Unlike other rooms in your home, bathrooms have high moisture levels which can make soundproofing materials less effective or prone to damage. Bathroom soundproofing needs to balance noise reduction with durability as materials need to withstand humidity, water and temperature changes.
Another challenge is the layout and size of most bathrooms. They are small and small with hard surfaces like tiles, glass and metal that reflect sound, causing echoes and making it harder to achieve soundproofing. And noise from plumbing pipes or appliances like showers and toilets can be hard to block. To properly reduce bathroom noise you’ll need to focus on both walls and plumbing fixtures, using materials that stop sound from traveling while also being resistant to moisture.
By understanding these specific challenges you can make better choices when selecting materials and methods for soundproofing your bathroom and get long lasting results.

Top Soundproofing Materials for Bathrooms
When soundproofing your bathroom, the right materials are key to reducing noise while being durable in a high-moisture environment. Here are the best materials to use:
1. Soundproof Drywall
Soundproof drywall is an excellent option for reducing sound transmission in your bathroom. It’s specifically designed to block sound and minimize vibrations that can travel through walls. Unlike standard drywall, soundproof drywall incorporates additional layers of sound-damping materials such as viscoelastic polymers or gypsum, making it much more effective in isolating noise. This can be especially helpful if you’re trying to keep noise from traveling to the apartment below or to the next room. When installing soundproof drywall, it’s important to ensure that it’s properly sealed to maintain its effectiveness in preventing sound leaks.
2. Acoustic Insulation
Acoustic insulation, such as mineral wool or fiberglass, is highly effective in soundproofing between walls or beneath floors. These materials work by absorbing sound waves, preventing them from traveling through the building’s structure. Acoustic insulation is especially valuable in bathrooms, where noise can easily travel through shared walls or floors. It’s important to select insulation that is rated for moisture resistance, as the bathroom environment is prone to high humidity and water exposure. This will help avoid issues like mold growth, which can be a concern in bathrooms with poor ventilation.
3. Soundproofing Sealant
A simple yet effective method to enhance your bathroom’s soundproofing is by using soundproofing sealant. This product can be applied to gaps and cracks around doors, windows, and plumbing fixtures. These small gaps often go unnoticed but can significantly contribute to sound leakage. Applying a high-quality soundproof sealant helps block these pathways, ensuring that sound doesn’t escape or enter your bathroom. This is an affordable, easy-to-apply solution that can make a noticeable difference in reducing unwanted noise.
4. Acoustic Foam Panels
If your bathroom has an echo or excessive reverberation, acoustic foam panels can be a great solution. These panels are designed to absorb sound, reducing echo and improving the overall acoustics of a room. In a bathroom, they can be particularly helpful in areas where sound bounces off hard surfaces like tile or mirrors. However, since bathrooms are high-moisture areas, it’s essential to use foam panels that are either moisture-resistant or installed in areas less exposed to water, such as on walls that are farther from the shower or bathtub. Acoustic foam panels not only improve sound quality but also contribute to creating a more pleasant and less noisy bathroom environment.
5. Mass Loaded Vinyl (MLV)
Mass Loaded Vinyl (MLV) is a highly effective soundproofing material that is especially useful in bathrooms. It is a dense, flexible material that can be applied to walls, ceilings, or floors to block sound transmission. MLV works by adding mass to the structure, which helps prevent sound waves from passing through. It’s often used in combination with other soundproofing materials to create a more comprehensive solution. The durability and flexibility of MLV make it a great option for bathrooms, where exposure to moisture is a concern. When installing MLV, ensure it’s properly sealed to prevent any gaps, as these can reduce its effectiveness.

Step-by-Step Guide to Soundproof Your Bathroom
Soundproofing your bathroom is easy if you follow these steps. Here’s a step by step guide to a quieter, more peaceful bathroom:
1. Soundproof Your Walls and Ceiling
Start with the walls and ceiling where most of the noise travels.
- Soundproof Drywall: Replace regular drywall with soundproof drywall or add an extra layer of mass-loaded vinyl (MLV) between the drywall sheets. This will absorb sound and stop it from echoing.
- Acoustic Insulation: Fill wall cavities with acoustic insulation like mineral wool or fiberglass. This will dampen sound vibrations and stop noise from traveling through the walls.
- Seal Gaps: Use soundproofing sealant around edges, joints and cracks in the walls to stop sound leakage.
2. Soundproof Your Door and Window
Doors and windows are where sound escapes or enters. To reduce bathroom noise:
- Solid Core Door: A solid core door is much better at blocking sound than a hollow one. You can also add a door sweep at the bottom to seal any gaps.
- Acoustic Curtains: For windows, consider installing acoustic curtains that absorb sound. These are especially good at reducing outside noise.
- Weatherstripping: Apply weatherstripping along the door and window edges to seal any small gaps that let sound in.
3. Fix Plumbing and Fixtures
Plumbing sounds like running water or pipes can be the most annoying bathroom noises.
- Noise Reducing Fixtures: Replace noisy fixtures with quieter, water efficient models. For example, a quiet toilet or low flow showerhead can reduce noise.
- Insulate Pipes: Wrap your plumbing pipes with soundproofing material like foam pipe insulation to stop vibrations from traveling through the walls.
4. Soundproof Your Floors
The hard surfaces in your bathroom like tile or wood can create echoes and amplify noise. To reduce floor noise:
- Soundproof Underlayment: Lay down a soundproof underlayment before installing tiles or other flooring. This will absorb sound and reduce vibrations.
- Rugs or Mats: While not as good as underlayment, bathroom rugs or mats can soften the sound on hard floors and absorb noise from foot traffic.
DIY vs. Professional Soundproofing: Which Is Right for You?
When it comes to soundproofing your bathroom, you have two options: DIY or hire a professional. Both have their pros and cons, but the right choice depends on your budget, skill level and the complexity of the job.
DIY Soundproofing: Cost-Effective but Time-Consuming
DIY soundproofing is a budget friendly way to reduce bathroom noise, especially if you’re on a tight budget. Many soundproofing materials such as acoustic foam panels, soundproof sealant and insulation can be bought at local hardware stores. If you have some basic DIY skills you can follow step by step instructions to install soundproofing materials yourself.
- Pros:
- Lower cost than professional services.
- Flexibility to choose and apply materials at your own pace.
- Sense of accomplishment of doing it yourself.
- Cons:
- Time consuming and physically demanding.
- May not be as effective as professional methods.
- Risk of improper installation and less than optimal results.
DIY soundproofing works best for minor noise reduction such as adding acoustic curtains or applying soundproofing sealant around door frames. But for more complex tasks like upgrading plumbing insulation or installing soundproof drywall you may run into problems.
Professional Soundproofing: Expertise and Long Term Results
Hiring a professional soundproofing expert like a Toronto bathroom renovation contractor ensures a more thorough and lasting solution. Professionals have the knowledge, experience and tools to tackle complex soundproofing projects. They can also recommend the best materials for your bathroom’s specific needs and guarantee workmanship.
- Pros:
- Expertise in choosing and installing the best soundproofing materials.
- Faster results with better long term outcomes.
- Guaranteed work with less chance of error or ineffective solutions.
- Cons:
- Higher cost due to labour and material expenses.
- Less control over material selection and process.
If you’re looking for a more comprehensive soundproofing solution for major noise sources like plumbing or want to ensure high quality results that will last, hiring a professional may be your best bet. Toronto soundproofing services can provide you with the best materials and techniques to create a quiet bathroom.
Which Option Is Right for You?
DIY if you’re on a budget, have some DIY skills and only need to address minor noise.
Hire a professional if you want a thorough, long term soundproofing solution with guaranteed results especially for complex tasks like soundproofing plumbing or new drywall.
How Much Does Soundproofing a Bathroom Cost?
When soundproofing your bathroom, one of the first questions you’ll have is how much it will cost. The cost of bathroom soundproofing can vary widely depending on the materials you choose, whether you go DIY or hire pros, and the complexity of the project.
1. DIY Soundproofing Costs
If you’re going DIY, you’ll spend much less. Here’s a breakdown of some common soundproofing materials and their costs:
- Soundproof Drywall: $40 to $70 per sheet. You’ll need several sheets depending on the size of your bathroom.
- Acoustic Insulation: $0.60 to $1.50 per square foot. This can be used in walls or ceilings to absorb sound.
- Acoustic Foam Panels: $20 to $60 per panel, depending on size and quality. These are great for reducing echo.
- Soundproofing Sealant: $10 to $20 per tube, which can cover multiple gaps around doors, windows and plumbing fixtures.
While DIY soundproofing materials are cheap, the total cost will depend on how much of the bathroom needs to be treated. For a small bathroom, the total DIY cost will be $200 to $500, depending on your choices.
2. Professional Soundproofing Costs
If you hire a pro to soundproof your bathroom, the cost will be higher due to labour and material costs. The average cost for professional soundproofing services in Toronto is $1,000 to $5,000, depending on the scope of the project. Here’s a breakdown:
- Labour Costs: Professional installation can cost anywhere from $50 to $100 per hour depending on the complexity of the work.
- Material Costs: Higher quality soundproofing materials, such as soundproof drywall, acoustic insulation and MLV will add to the cost.
- Additional Costs: If you need to soundproof plumbing or install specialized fixtures, that will add to the cost.
For a full soundproofing solution that includes wall treatments, ceiling work and plumbing insulation, you’ll pay closer to the higher end of the range, especially if you’re addressing big noise sources like plumbing pipes.
3. Factors That Affect the Cost
Here are the factors that will affect the final cost of your soundproofing project:
- Bathroom Size: Larger bathrooms will require more material and labour, so the cost will be higher.
- Scope of Soundproofing: If you only need to address minor noise issues, the cost will be on the lower end. But if you’re tackling plumbing noise or echo problems, the cost will be higher.
- Type of Materials: Premium materials like MLV or high-end soundproof drywall will cost more upfront but may pay off in the long run.
Is it Worth it?
Considering the benefits of a quieter bathroom—more privacy, less plumbing noise and a more relaxing space— bathroom soundproofing is a worthwhile investment. Whether you go DIY or pro, the added comfort and privacy are often worth the cost.

Also Read this: Best Eco-Friendly Bathroom Renovation Ideas
Maintenance Tips for Long-Lasting Soundproofing
To keep your soundproofing effective over time, you need to maintain the materials and components you’ve installed. Here are some tips to keep your bathroom soundproofing in top shape:
- Check for Gaps and Cracks: Over time, seals around doors, windows and plumbing fixtures can weaken and let sound leak through. Check these areas regularly and use soundproofing sealant to fill in the gaps. This will keep your bathroom’s soundproofing effective.
- Clean Soundproofing Materials: Some soundproofing materials like acoustic foam panels can collect dust and moisture over time and lose their effectiveness. Gently clean these materials with a vacuum with a soft brush attachment or a damp cloth. Avoid harsh chemicals that can damage moisture resistant properties.
- Inspect and Replace Insulation if Necessary: Acoustic insulation like fiberglass or mineral wool can lose its effectiveness if it gets damp or damaged. Check insulation behind walls or ceilings for signs of moisture or mold. If any insulation is compromised, replace it with new moisture resistant material to keep the soundproofing effective.
- Check Plumbing and Fixtures: Plumbing sounds can be a major source of bathroom noise and over time plumbing pipes can shift or loosen and increase noise. Check the insulation around pipes and repair or replace any worn out materials. Also keep an eye on water pressure in pipes to reduce vibrations that can cause noise.
- Maintain Flooring and Underlayment: If you’ve used soundproof underlayment under your bathroom flooring, make sure to maintain it by checking for any signs of wear. Ensure tiles or other flooring materials are intact and securely attached. Loose or cracked flooring can create gaps that allow sound to travel more easily.
- Monitor Humidity Levels: Bathrooms are prone to high humidity which can affect the durability of soundproofing materials. Use an exhaust fan or a dehumidifier to maintain proper humidity levels. Keeping your bathroom dry will extend the life of soundproofing materials especially those like drywall and insulation that are sensitive to moisture.
- Reapply Soundproofing Sealant as Needed: Sealant around doors, windows and fixtures can degrade over time. Check these areas every 6-12 months and reapply sealant if needed to keep a tight seal against sound.
Conclusion
Soundproofing your bathroom is a simple yet effective way to create a quieter, more private space. Whether you choose a DIY approach or hire a professional, implementing the right soundproofing materials and techniques can significantly reduce noise and enhance your bathroom experience. From acoustic insulation to soundproof drywall, there are plenty of options to meet your needs. By following the steps outlined in this guide and maintaining your soundproofing efforts, you can enjoy a calm and peaceful bathroom for years to come.
FAQs
-
How do I soundproof my bathroom on a budget?
To soundproof your bathroom affordably, start with inexpensive options like soundproofing sealant for gaps, acoustic foam panels, and bathroom rugs for floor noise. These materials can help reduce sound without a significant investment.
-
Can I soundproof my bathroom without renovating?
Yes, you can improve bathroom soundproofing without major renovations. Focus on adding acoustic curtains, insulating pipes, and applying soundproofing sealant around doors and windows to reduce noise effectively.
-
How effective is soundproof drywall for bathrooms?
Soundproof drywall is highly effective for reducing noise, especially in areas with plumbing noise. When used in combination with acoustic insulation, it can greatly minimize sound transmission in your bathroom.
-
How long does bathroom soundproofing last?
With proper care and maintenance, your bathroom soundproofing can last for many years. Regularly check for gaps and moisture buildup to keep materials in good condition, ensuring long-term effectiveness.
-
Should I hire a professional to soundproof my bathroom?
Hiring a professional may be the best choice if you’re looking for a more comprehensive solution, such as soundproofing plumbing or installing specialized materials. They can ensure the job is done properly and provide lasting results.